
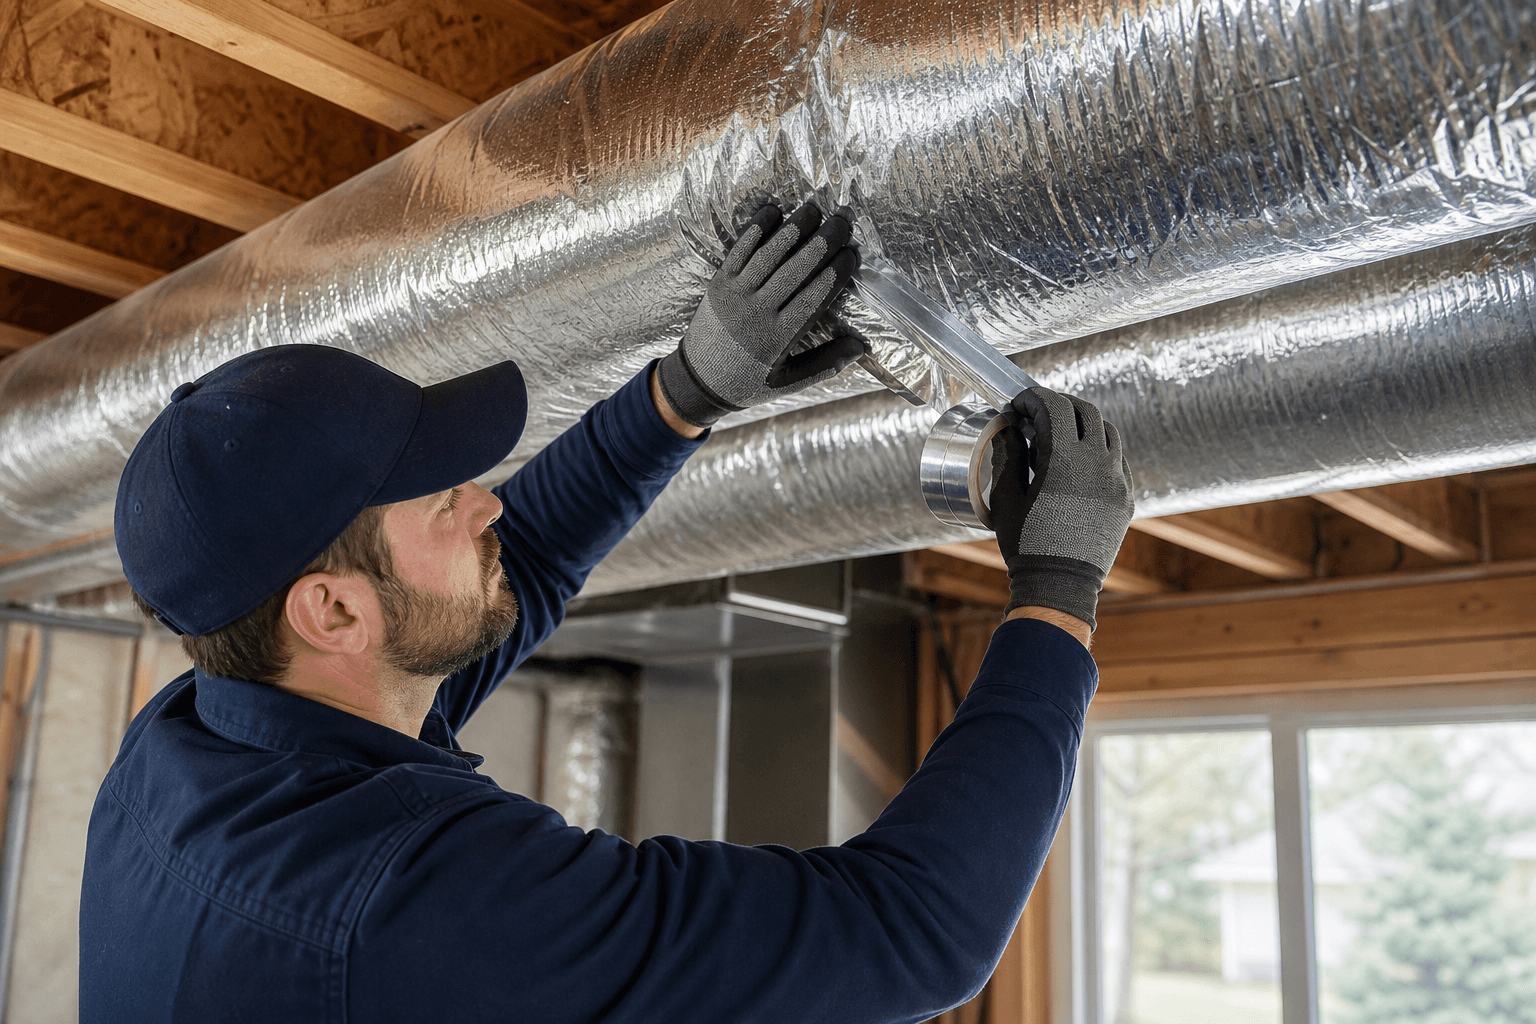

Mississauga duct sealing tips: 7 practical steps homeowners can use
If your Mississauga home has uneven heating, long furnace or air conditioner run times, or dust showing up around vents, leaky ducts are a common cause. This article gives seven practical, evidence-backed steps you can inspect or try safely at home, the materials to use and avoid, how to verify results, and when to book a free, no-pressure second opinion from SO HVAC if you prefer a professional diagnosis.
Why duct sealing matters in Mississauga homes
In Ontario's four-season climate, ducts that run through attics, crawlspaces, or unfinished basements can leak conditioned air to unheated or uncooled spaces. Building science research shows properly sealed and insulated ducts reduce energy waste, improve comfort, and can lower utility bills by as much as 20 percent in many homes, though actual savings depend on your house and system. Proper sealing also limits the entry of dust, pollen and moisture into the system, which helps indoor air quality and equipment longevity. If you decide a pro should do the work, Natural Resources Canada notes experienced air sealers usually do a better job locating and fixing leaks than most homeowners (Building America checklist), (Building Science Education), (NRCan).
Essential materials to use and what to avoid
Not all tapes and adhesives are appropriate for long-term duct sealing. For durable, code-acceptable sealing use mastic sealant or UL 181 rated foil or cloth tape for flexible and sheet-metal ducts. Aerosol duct sealants can be useful for pressurised plenums and inaccessible branches in some situations. ENERGY STAR and installation guidance recommend mastic and UL-approved tape, and explicitly warn against ordinary cloth-backed "duct tape" because it will fail over time (ENERGY STAR), (HVAC quality-installation guidebook). For trunk connections and large gaps, mastic is preferred because it adheres and cures into a flexible seal.
Seven practical steps homeowners can try

The following seven numbered steps are written so Mississauga homeowners can inspect and take safe, limited action themselves. Each step cites authoritative guidance where appropriate. Stop and call a qualified technician if you encounter damaged ducts, wiring, mould, rodent damage, or anything you are not comfortable handling.
Step 1 — find the likely leaks first
Start with a visual inspection. Look for disconnected joints, gaps at plenum seams, crushed flexible ducts, or missing fasteners near the furnace cabinet. With the system running, hold an incense stick or a lightweight ribbon near suspect seams to see if air movement disturbs the smoke or fabric. For accessible metal joints, soapy water will bubble where air escapes. Always turn the system off before poking insulation or manipulating ducts, and avoid touching electrical components. For detection best practices see ENERGY STAR and the Building America checklist (ENERGY STAR), (Building America).
Step 2 — prioritise accessible runs: attic, crawlspace, unfinished basement
Duct runs that pass through unconditioned spaces lose the most conditioned air. In Mississauga, sealing attic trunk lines and basement runs usually gives the biggest comfort and efficiency improvements because those ducts are exposed to cold winter air or hot summer air. Focus first on the ducts you can reach without major demolition, namely attic, crawlspace and unfinished basement runs, as recommended by ENERGY STAR and NRCan (ENERGY STAR), (NRCan).
Step 3 — the right seal for the right place: use mastic for seams and UL 181 tape for fittings
Use mastic paste on large trunk seams and around sheet-metal joints. Apply UL 181 rated foil or cloth tape on flexible duct transitions and on factory joints that specify UL 181. For hard-to-reach leaks in pressurised plenums, aerosol sealants applied by a trained technician can be effective. Clean surfaces before applying any sealant and allow appropriate cure time for mastic. These material recommendations come from ENERGY STAR and HVAC quality-installation guidance (installation guidebook), (ENERGY STAR).
Step 4 — seal before you insulate and install insulation correctly
Always seal seams and connections before adding or replacing insulation. Insulating an unsealed duct hides the leaks but does not stop them. When you insulate, do not compress the insulation and avoid gaps or misalignments. The HVAC installation checklist recommends sealing trunk connections before installing insulation and ensuring insulation is continuous and without voids (installation guidebook), (Building America).
Step 5 — a safe, short DIY sealing sequence you can try today
Keep this simple routine if you plan a small DIY repair. Photograph the area and note system symptoms, turn the HVAC power off, clean dust or oil from the seam with a rag, apply mastic or UL 181 tape according to product instructions, allow cure time for mastic, then restore power and re-check for leaks. Basic personal protective equipment includes gloves, a dust mask, and stable ladder practice. If a leak is large, a duct is disconnected, or you find mould or rodent damage, stop and call a professional. ENERGY STAR recommends homeowners limit DIY work to accessible ducts and use mastic or UL-approved tape rather than ordinary duct tape (ENERGY STAR).
Step 6 — how to check results at home
After sealing, look for improved balance between rooms, shorter on-cycles for the system, and reduced dust near registers. Repeating the incense stick test or feeling for drafts at previously leaky joints is a useful quick check. These homeowner checks are indicative but do not provide leakage percentage. If you need precise before and after numbers, a professional pressure test such as a duct blaster is the proper method. The EPA and HVAC installation guidance suggest homeowners ask for post-work verification and before/after documentation when a pro performs sealing or cleaning (EPA), (installation guidebook).
Step 7 — when sealing is not enough: consider repairs or professional diagnosis
Call a professional if you discover major disconnected trunks, crushed or collapsed ducts, persistent pressure or temperature imbalances after sealing, or if the house has complex multi-branch ductwork. NRCan notes professionals have tools and experience to locate hidden leaks and perform durable repairs (NRCan). A professional can also perform a duct leakage test and provide a clear scope and cost estimate. If you want an independent, no-pressure second opinion on recommended repairs or replacements, SO HVAC offers a free evaluation-first visit that explains what is required versus optional, with plain-language recommendations and no sales pressure (SO HVAC).
Common leakage locations in Mississauga houses and what to inspect
Look for these frequent failure points during your inspection. These are good first targets because they are common sources of losses and are often accessible:
- Trunk-to-register seams in attics and roof spaces.
- Register boots where ducts meet floor or ceiling grilles.
- Plenum seams at the furnace or air handler cabinet.
- Crimps, kinks or stretching in flexible ducts.
- Furnace cabinet transitions and collar connections.
- Return-air drop locations and filter housing seals.
ENERGY STAR and NRCan highlight these areas as high-priority for inspection and sealing (ENERGY STAR), (NRCan).
How professionals verify sealing worked and what tests they use

Verification ranges from simple visual and comfort checks to diagnostic tests. Professionals can use a duct blaster to measure total system leakage and provide a before and after percentage. A thorough professional report often includes leak location photos, leak area estimates, and recommended repairs. The HVAC quality-installation checklist describes visual inspection first, then testing after sealing to confirm results (installation guidebook). If you need exact leakage numbers for a renovation, request a duct leakage test from the contractor.
When to call a professional and what to have ready for a free second opinion
Call a professional if the ducts are damaged, if DIY sealing does not resolve comfort issues, or if you prefer verified before and after results. SO HVAC’s free, no-pressure second opinion includes an independent assessment of your ducts and system, a clear explanation of what is required versus optional, and plain-language advice you can use to compare quotes. To make the most of a visit, have these items ready for the technician: the original quote or recommendation you received, photos of ducts and equipment, model numbers on your furnace or air handler, a brief history of symptoms and dates, and safe access to attic or basement areas. Learn more about booking a free second opinion at SO HVAC (SO HVAC).
Printable checklist and next steps
Use this short checklist to prioritise action:
- Photograph suspect ducts and note symptoms.
- Inspect attic, crawlspace and basement runs first.
- Test seams with an incense stick or ribbon while the system runs.
- Choose mastic or UL 181 tape for repairs; avoid ordinary duct tape.
- Seal seams, then insulate without compressing the insulation.
- Re-check comfort, airflow and system run time after repairs.
- If problems remain, request a professional duct leakage test and a written report.
If you would like an independent, no-pressure evaluation in Mississauga or nearby areas including Oakville, Burlington, Brampton, Milton, Hamilton, Niagara, Cambridge, Guelph, and Orangeville, consider booking SO HVAC’s free second opinion (SO HVAC).
Frequently asked questions
Can I seal ducts myself in a Mississauga home and what are the risks?
Yes for small, accessible leaks. Limit DIY work to reachable attic, crawlspace and basement runs. Risks include worsening a damaged duct, disturbing insulation or wiring, and using the wrong tapes which fail over time. If you find significant damage, mould, or rodent activity, call a professional. ENERGY STAR provides homeowner safety recommendations (ENERGY STAR).
How long does proper duct sealing typically last before it needs checking again?
Durable mastic and UL 181 tape applied to clean surfaces can last many years, but house movement, rodent activity or mechanical damage may create new leaks. Periodic inspections during routine maintenance are sensible. Professionals can provide a durability estimate after an inspection.
Will duct sealing fix my high heating bills or uneven temperatures by itself?
Duct sealing often helps a lot, especially when ducts run through unconditioned spaces, but it is one piece of the system. Efficiency and comfort also depend on correct equipment sizing, thermostat settings, insulation, and air leaks in the building envelope. Building America research summarises typical benefits of sealing and insulation (Building America).
What does SO HVAC’s free second opinion include and is there any obligation to buy?
SO HVAC offers a free, no-obligation second opinion that evaluates your heating, cooling or water systems and explains what is required versus optional in plain language. There is no sales pressure and no obligation to purchase. Learn more on the SO HVAC website (SO HVAC).
How will I know if a professional duct test is necessary or if a simple DIY job will suffice?
If quick DIY sealing on accessible ducts improves comfort and reduces run time, DIY may be sufficient. Request a professional test if you need precise leakage numbers, if problems persist after sealing, or if ducts are hidden and complex. The HVAC installation guidance recommends visual inspection first, then testing after sealing to confirm results (installation guidebook).
If you would like a professional, independent, no-pressure second opinion in Mississauga, book an evaluation with SO HVAC to get a plain-language assessment and clear options.